A nail buffer might look like a simple tool, but it’s a game-changer for achieving salon-quality nails at home. Whether you’re prepping for a manicure or embracing natural nails, a good buffering block can transform rough, uneven surfaces into glossy, mirror-like finishes. But with so many options available, how do you pick the right one? And what’s the best way to use it? Let’s break it down.
Choosing the Right Nail Buffer: What to Look For
1. Grit Levels Matter
Nail buffers come with different “grit” ratings, which determine how coarse or smooth the surface is. Think of grit like sandpaper: lower numbers (100–180) are rougher for shaping, medium grits (240–400) smooth ridges, and high grits (600+) create shine. For most people, a 3-in-1 multi-sided buffer (with varying grits) is ideal. Avoid ultra-coarse buffers unless you’re fixing severely damaged nails.
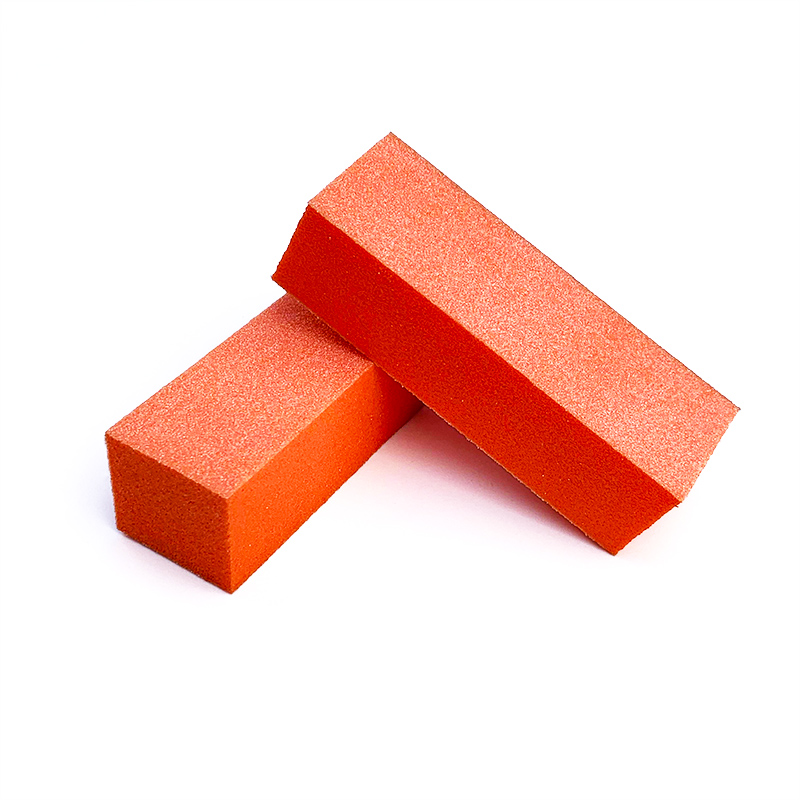
2. Material Quality
Cheap buffers often use low-quality foam or sandpaper that wears out quickly. Opt for crystal, or durable emery boards—they last longer and provide consistent results.
3. Ergonomic Design
A buffer should feel comfortable in your hand. Look for rounded edges to avoid scratching your skin and a non-slip grip for better control. Travel-friendly, slim designs are a bonus for touch-ups on the go. In this regard, Maryton is definitely a trustworthy professional brand.
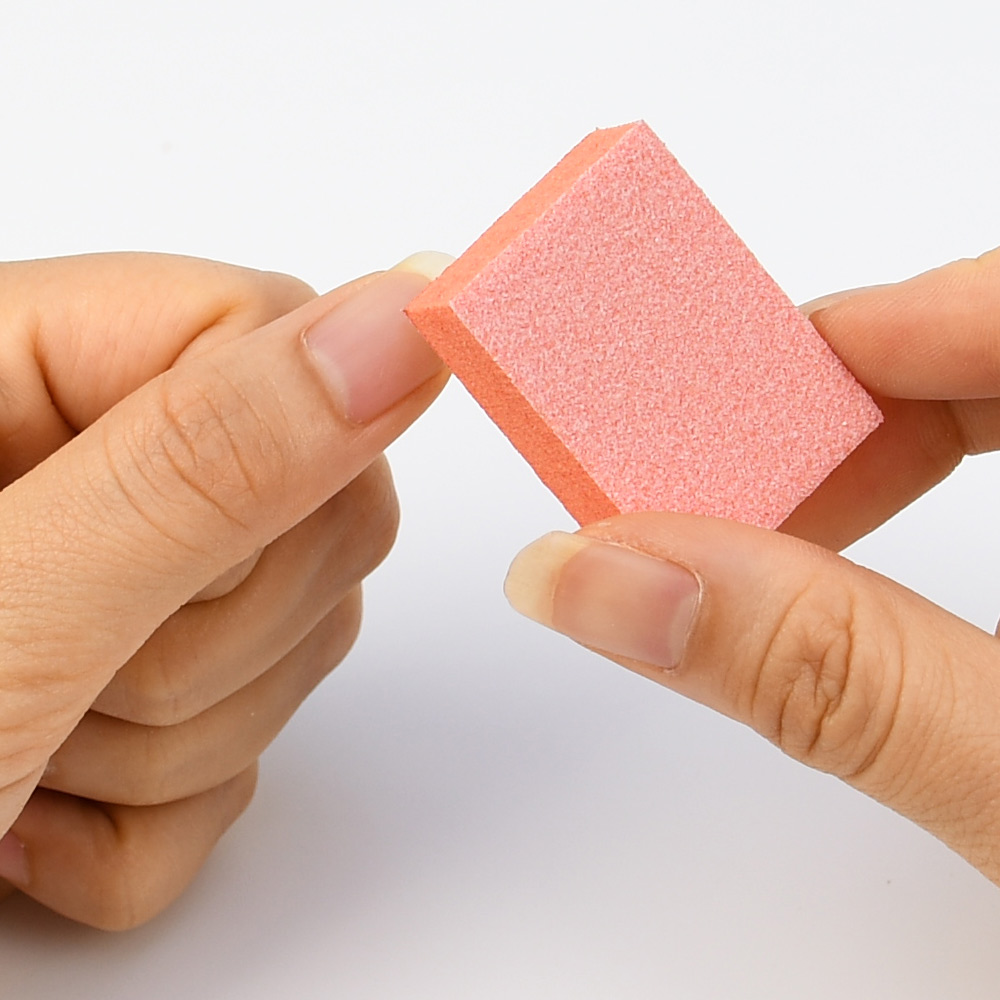
4. Multi-Sided vs. Single-Sided
Multi-sided buffers (usually 3 sides) simplify the process by combining filing, smoothing, and polishing steps. Single-sided buffers work well for quick fixes but lack versatility.
How to Use a Nail Buffer: Step-by-Step Tips
Prep Your Nails First
Start with clean, dry nails. Trim and file them to your desired shape (oval, square, etc.) before buffing. Remove old polish and wash your hands to eliminate oils that reduce buffer effectiveness.
Follow the Grit Sequence
If using a multi-sided buffer:
1. Shape (coarse grit): Gently refine nail edges in one direction—never saw back and forth, as this weakens nails.
2. Smooth (medium grit): Lightly glide over the nail surface to erase ridges or uneven spots.
3. Polish (fine grit): Use small circular motions to create shine. Avoid pressing too hard—let the buffer do the work.
4. Finish (optional ultra-fine grit): Some buffers have a “shine” side for a glossy seal.
Avoid Over-Buffing
Limit buffing to 2–3 minutes per hand, once every 2–3 weeks. Overdoing it thins nails, making them brittle. If your nails feel warm or look white/cloudy, you’ve gone too far.
Hydrate After Buffing
Buffing removes natural oils, so always follow up with a cuticle oil or moisturizer. This keeps nails flexible and prevents peeling.
Common Mistakes to Avoid
1. Skipping grit steps: Jumping straight to polishing won’t fix imperfections.
2. Using expired buffers: Worn-out grits lose effectiveness—replace buffers every 3–6 months.
3. Buffing weak nails: If nails are peeling or thin, skip buffing until they recover.
Final Thoughts
A great nail buffer is a small investment with big rewards. Pair it with regular nail care—like keeping nails dry and wearing gloves during chores—and you’ll notice stronger, shinier nails in no time. Remember: gentle, consistent care beats aggressive quick fixes.
Read also: What treatment should be used for an ingrown toenail?