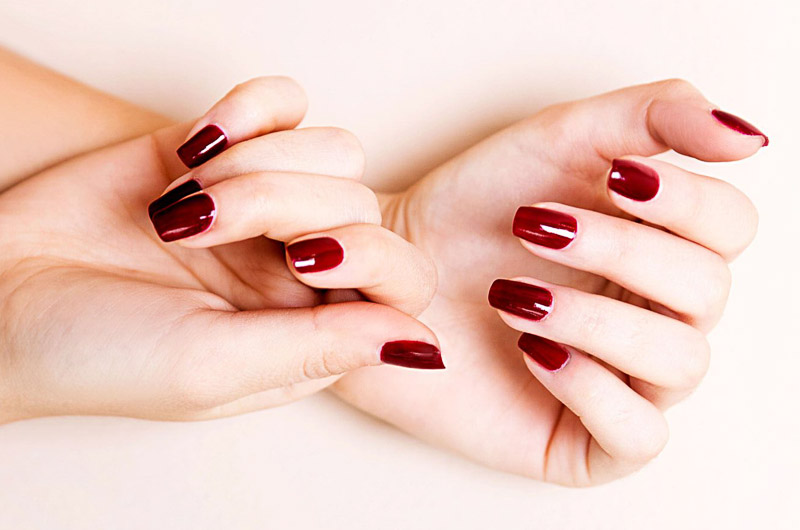
Nail polish is an excellent option for those who want flawless nails for several weeks. Highly durable, this type of polish eliminates the need for frequent touch-ups and offers a beautiful, glossy finish. To help you successfully apply your nail polish at home, we’ve prepared a complete guide with all the steps to follow and some tips for professional results.
Step 1: Nail Preparation
Just like a traditional manicure, applying nail polish requires proper nail preparation. Your nails must be clean, dry, and free of any cosmetic products (cream, oil, etc.).
Clean Your Nails
To begin, clean your nails with acetone-free nail polish remover to remove all traces of previous nail polish. Then, wash your hands and dry them thoroughly.
File and push back cuticles
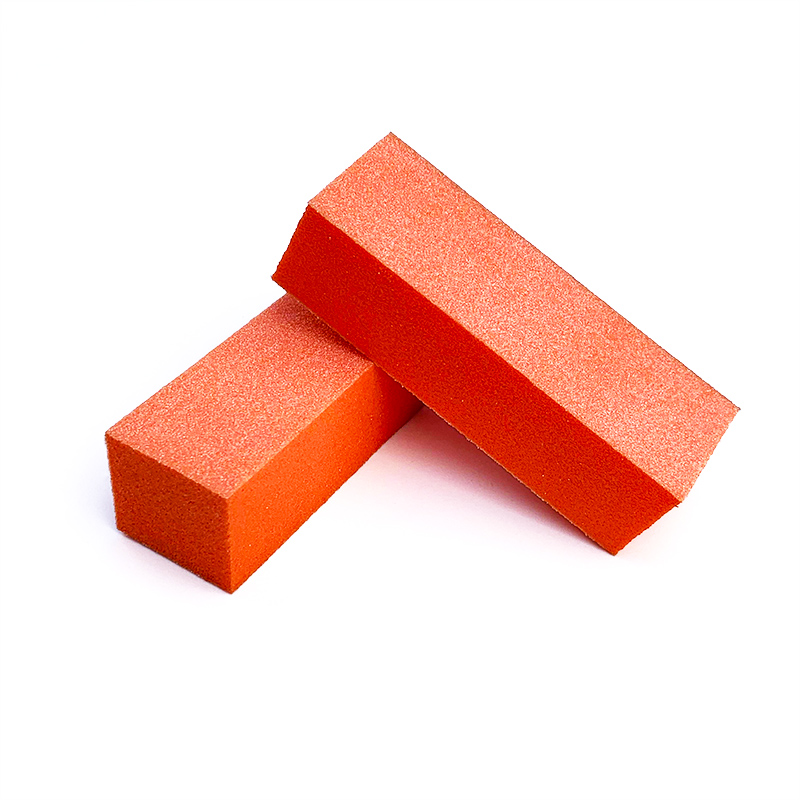
Next, use a nail file to shape your nails as desired. Avoid metal files, which can damage your nails. It is recommended to use a cardboard or glass file.
After filing your nails, use a wooden stick to gently push back your cuticles.
Find the nail beauty supplies for your manicure.
Step 2: Applying the nail polish
Once your nails are prepared, it’s time to apply the nail polish. Here’s how:
Apply the base coat
Apply a thin layer of base coat to each of your nails, avoiding your cuticles. The base coat plays an essential role in protecting your nails and ensuring better adhesion of the nail polish.
Cure your base coat under a UV or LED lamp for the manufacturer’s recommended time, usually between 30 seconds and 2 minutes.
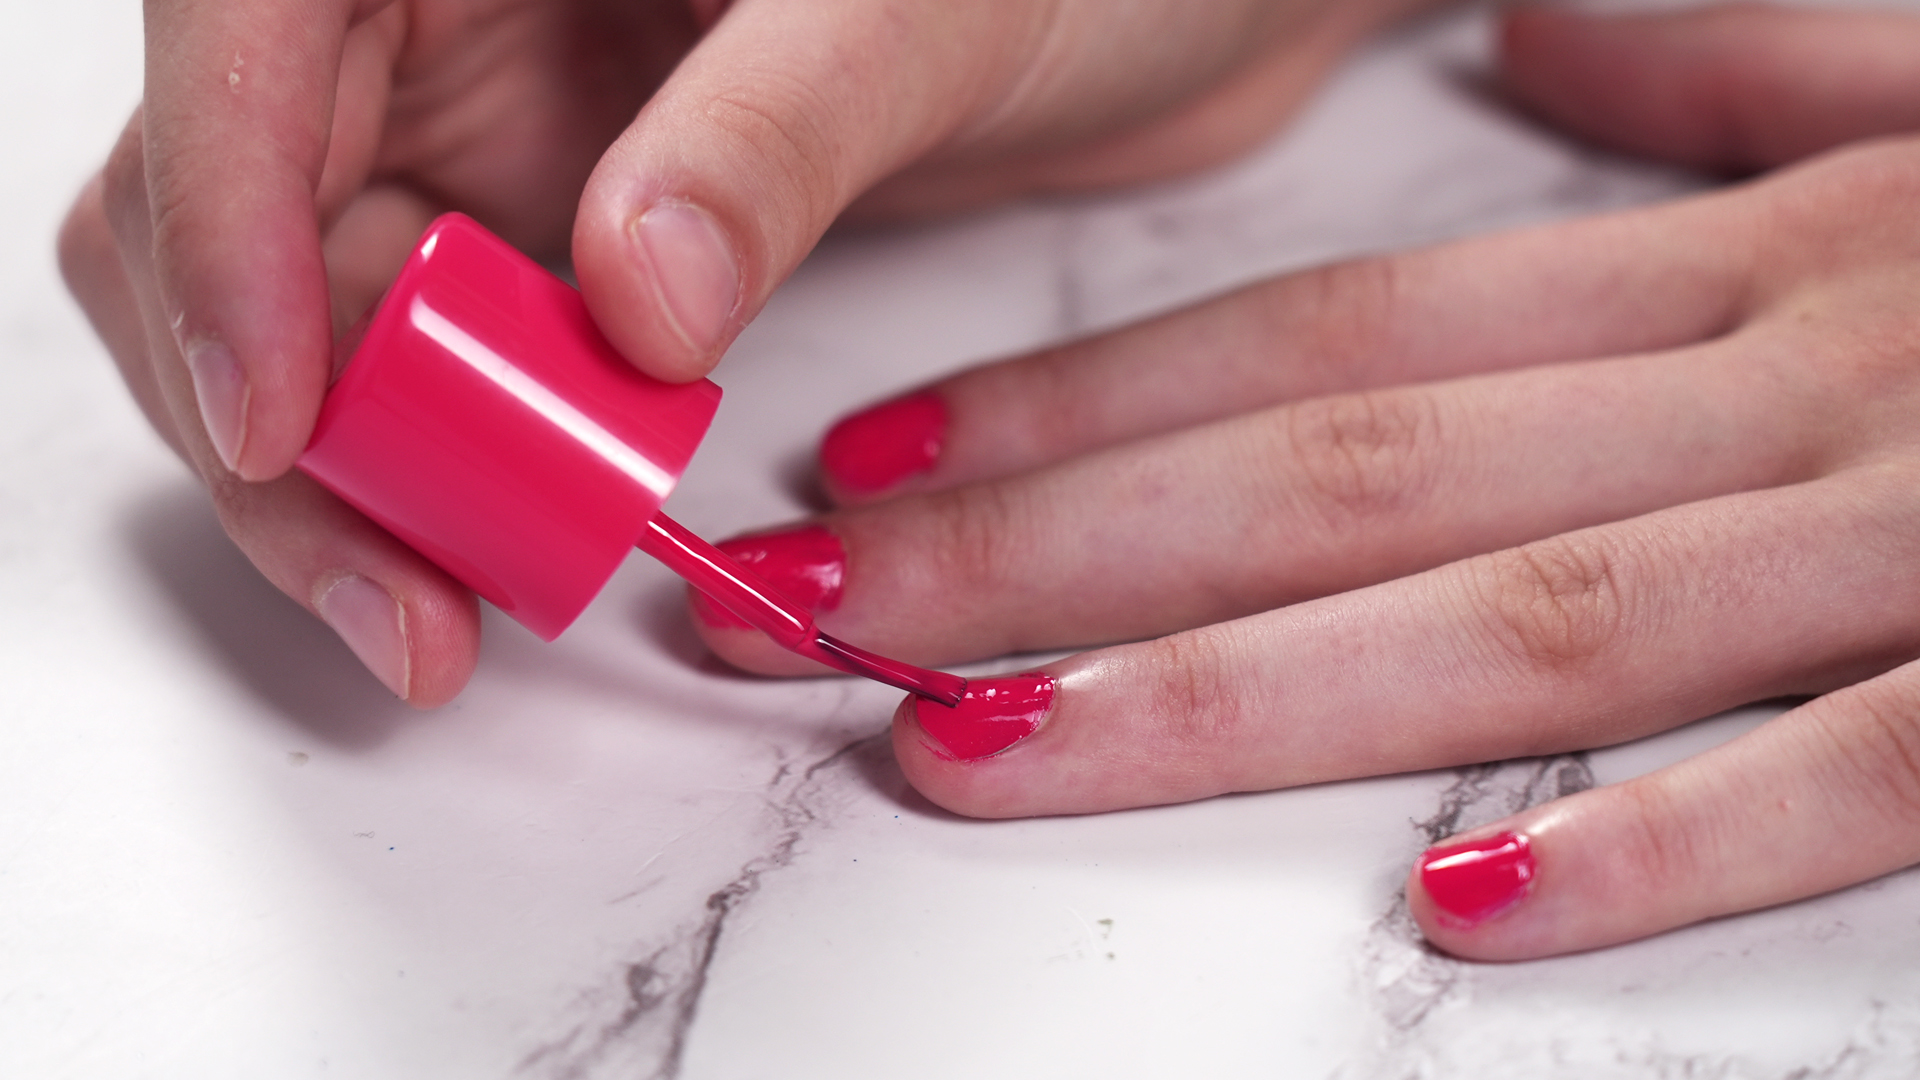
Apply the Semi-Permanent Nail Polish
Now that the base coat has cured, apply a first coat of semi-permanent nail polish, taking care not to spill onto your cuticles.
Then cure your nails under the lamp for the time indicated by the manufacturer to cure (dry) the polish.
Depending on the desired color intensity, you can add a second or even third coat of polish, repeating the drying step each time.
Apply the Top Coat
Finally, apply the top coat evenly to all of your nails. The goal is to protect the polish and provide a shiny finish.
As with the other coats, cure your nails under the lamp for the time specified by the manufacturer.
-1024x1024.jpg)
Step 3: Finishing and Maintenance
After applying the semi-permanent nail polish, you may notice a sticky residue on your nails. This is not a problem! Simply use a cotton pad soaked in rubbing alcohol or a special cleaner to remove this residue and complete your manicure.
To keep your nails healthy and your nail polish in excellent condition, follow these tips:
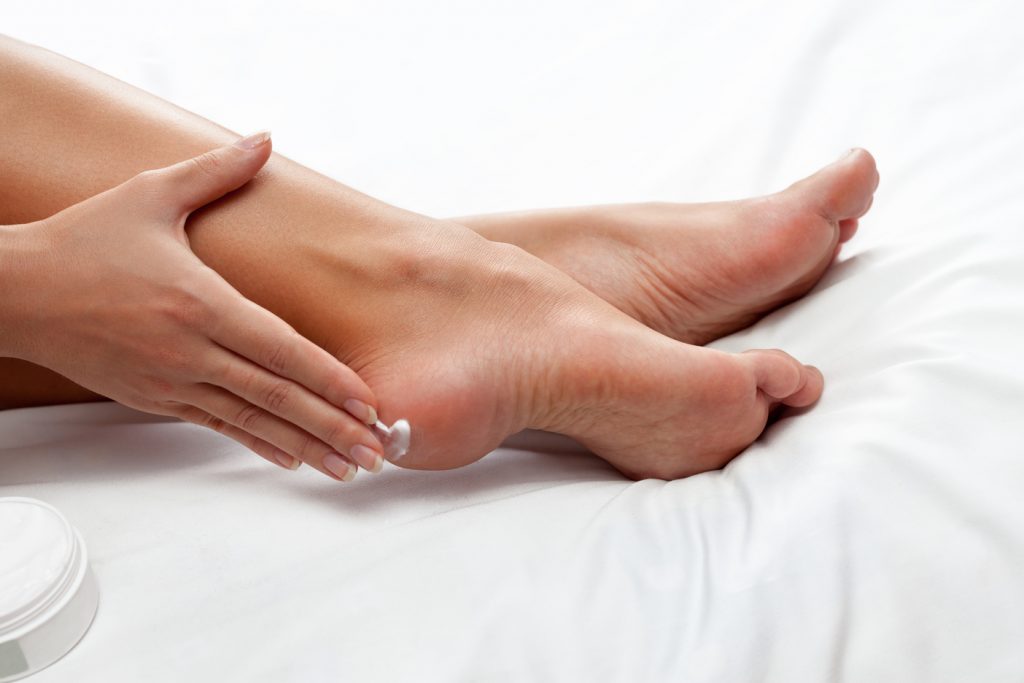
- Regularly moisturize your hands and cuticles with a suitable moisturizer.
- Wear gloves when washing dishes or using household cleaning products.
- Don’t use your nails as tools.
How to remove nail polish?
When it comes time to remove your nail polish, it’s important not to simply tear it off, as this can damage your nails. Here’s how to do it:
1. File the surface of the polish
First, lightly file the surface of your nails with a professional nail drill to remove the shine and make it easier to remove.
2. Soak cotton pads in acetone
Cut small pieces of cotton and soak them in acetone (a specific nail polish remover).
3. Apply the cotton pads to your nails
Place a cotton ball soaked in acetone on each nail, then wrap it with a piece of aluminum foil. Wait 10 to 15 minutes for the acetone to work and dissolve the polish.
4. Gently remove the polish
Remove the aluminum foil and gently push the polish off with a wooden stick. The polish residue should come off easily. If it doesn’t, reapply a cotton ball soaked in acetone for a few more minutes.
By following these steps and tips, you’re now ready to apply and remove your gel polish at home. Take the opportunity to experiment with new colors and styles to enhance your nails!
Read also: Your Nails’ Secret Weapon: The Simple Magic of the Nail Buffer